Documentation Getting started
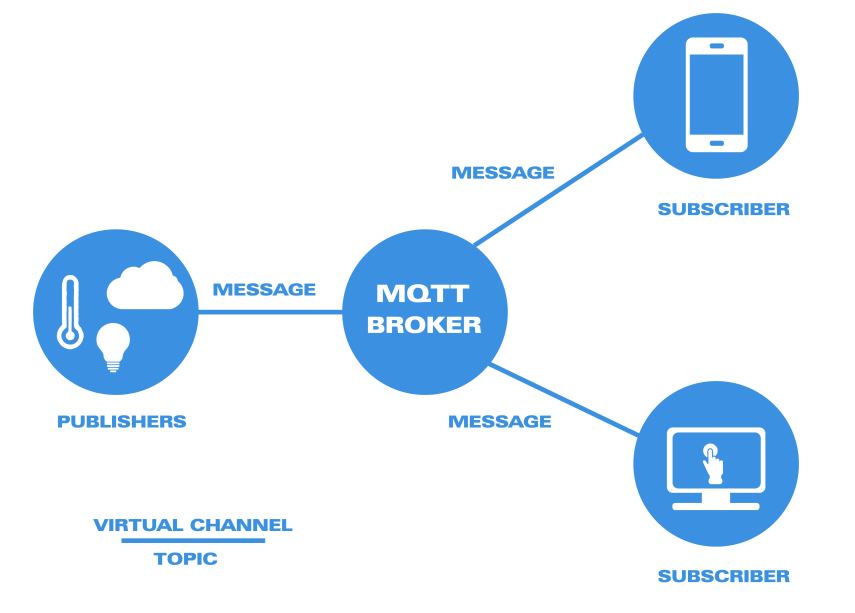
CloudMQTT are managed Mosquitto servers in the cloud. Mosquitto implements the MQ Telemetry Transport protocol, MQTT, which provides lightweight methods of carrying out messaging using a publish/subscribe message queueing model.

MQTT is the machine-to-machine protocol of the future. It is ideal for the “Internet of Things” world of connected devices. Its minimal design makes it perfect for built-in systems, mobile phones and other memory and bandwidth sensitive applications.
Message queues provide an asynchronous communications protocol, the sender and receiver of the message do not need to interact with the message queue at the same time. Messages placed onto the queue are stored until the recipient retrieves them or until the messages times out. MQTT and Mosquitto are for good use by bandwidth sensitive applications.
CloudMQTT let you focus on the application instead of spending time on scaling the broker or patching the platform.
Create a CloudMQTT instance
There are a couple of cloud MQTT brokers that are available in the internet right now, like CloudMQTT and HiveMQ, but in this tutorial, I will teach how to set up a free private cloud MQTT broker using CloudMQTT. You can sign up for a free account at https://customer.cloudmqtt.com/login, just follow the instructions to sign up.

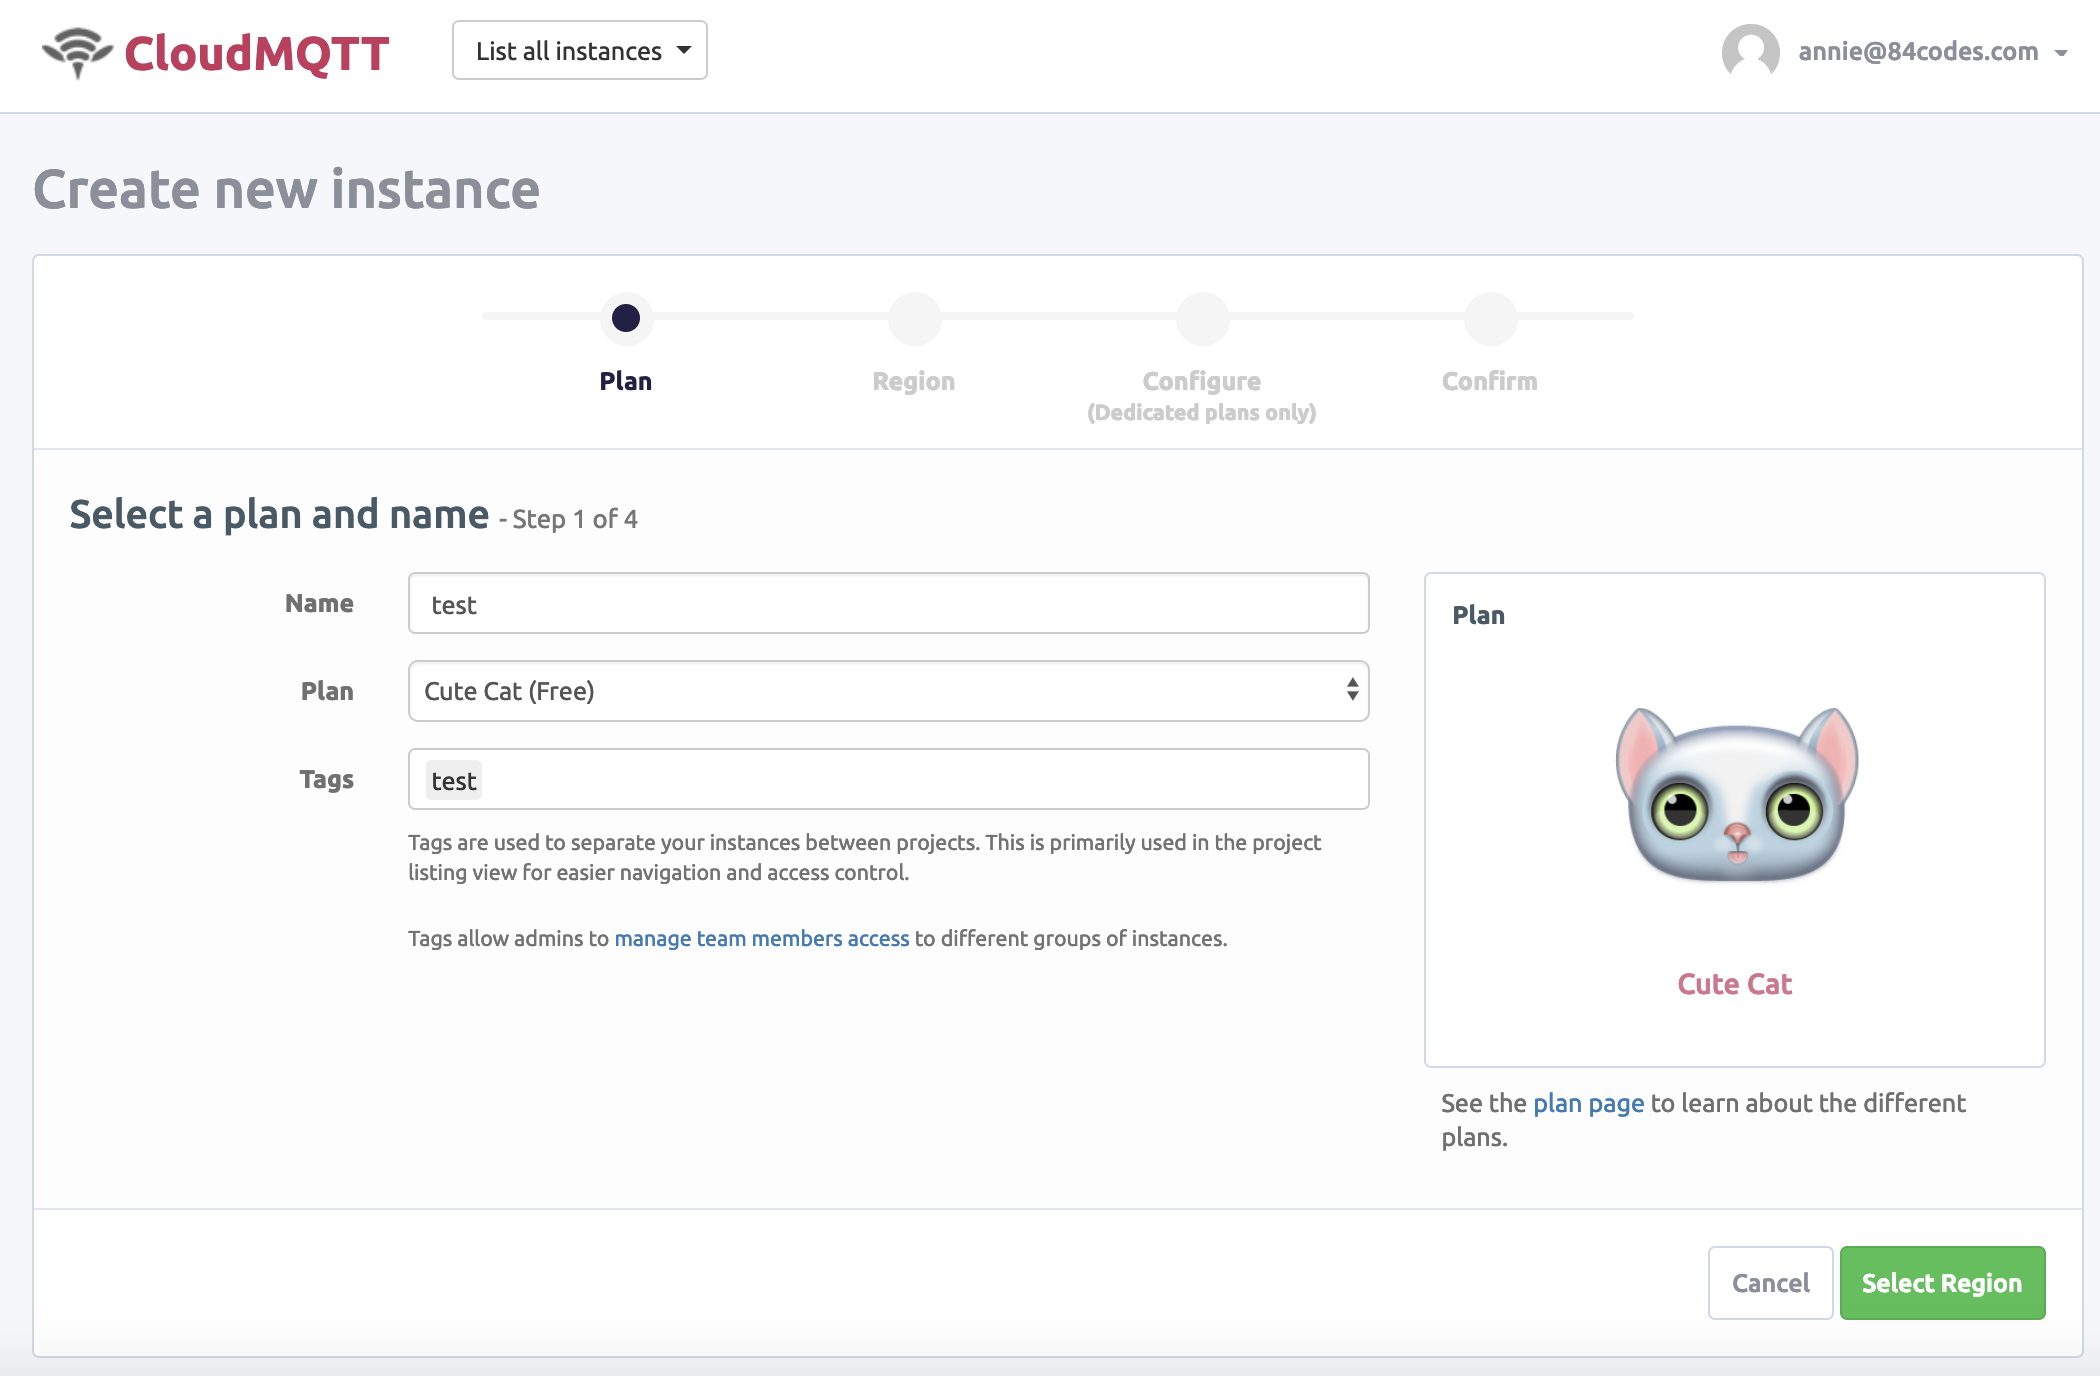
Next, you will be redirected to the CloudMQTT instances page. Click the + Create button to create a new CloudMQTT instance. Now you would be in the Create new CloudMQTT instance page. Insert an instance name, choose any Data center available, and make sure for the “Plan” choose the “Cute Cat”, because we like free stuff.
Create an account and login to the control panel and press + Create New Instance.

To get started you need to sign up for a customer plan. What plan you require depends on your use case. We offer six different plans for different needs. Two shared plans intended for development or small hobby projects. Three dedicated plans suited for production environments. One plan intended for large enterprises. You can try CloudMQTT for free with the plan Cute Cat.
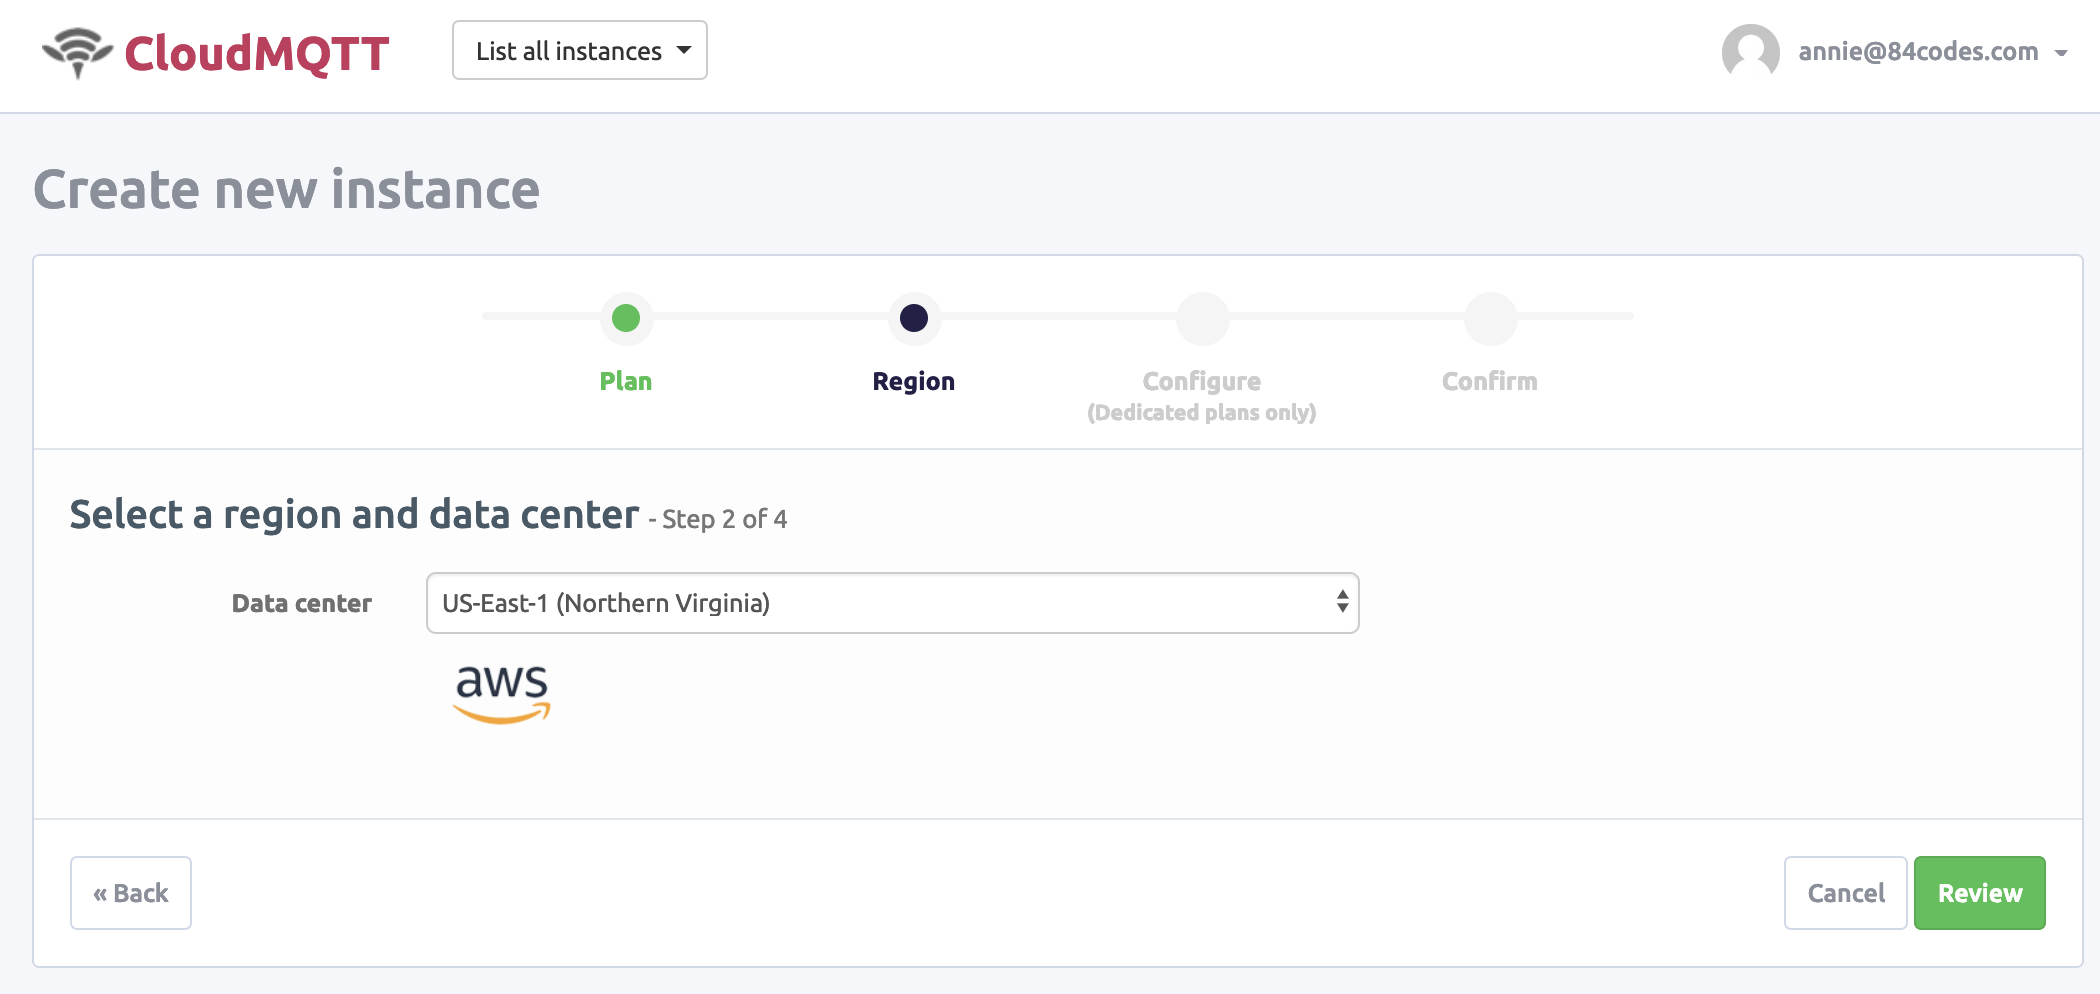
Pick a name and plan for your instance. You also have the option of tagging your instance. Click Select Region to choose data center.
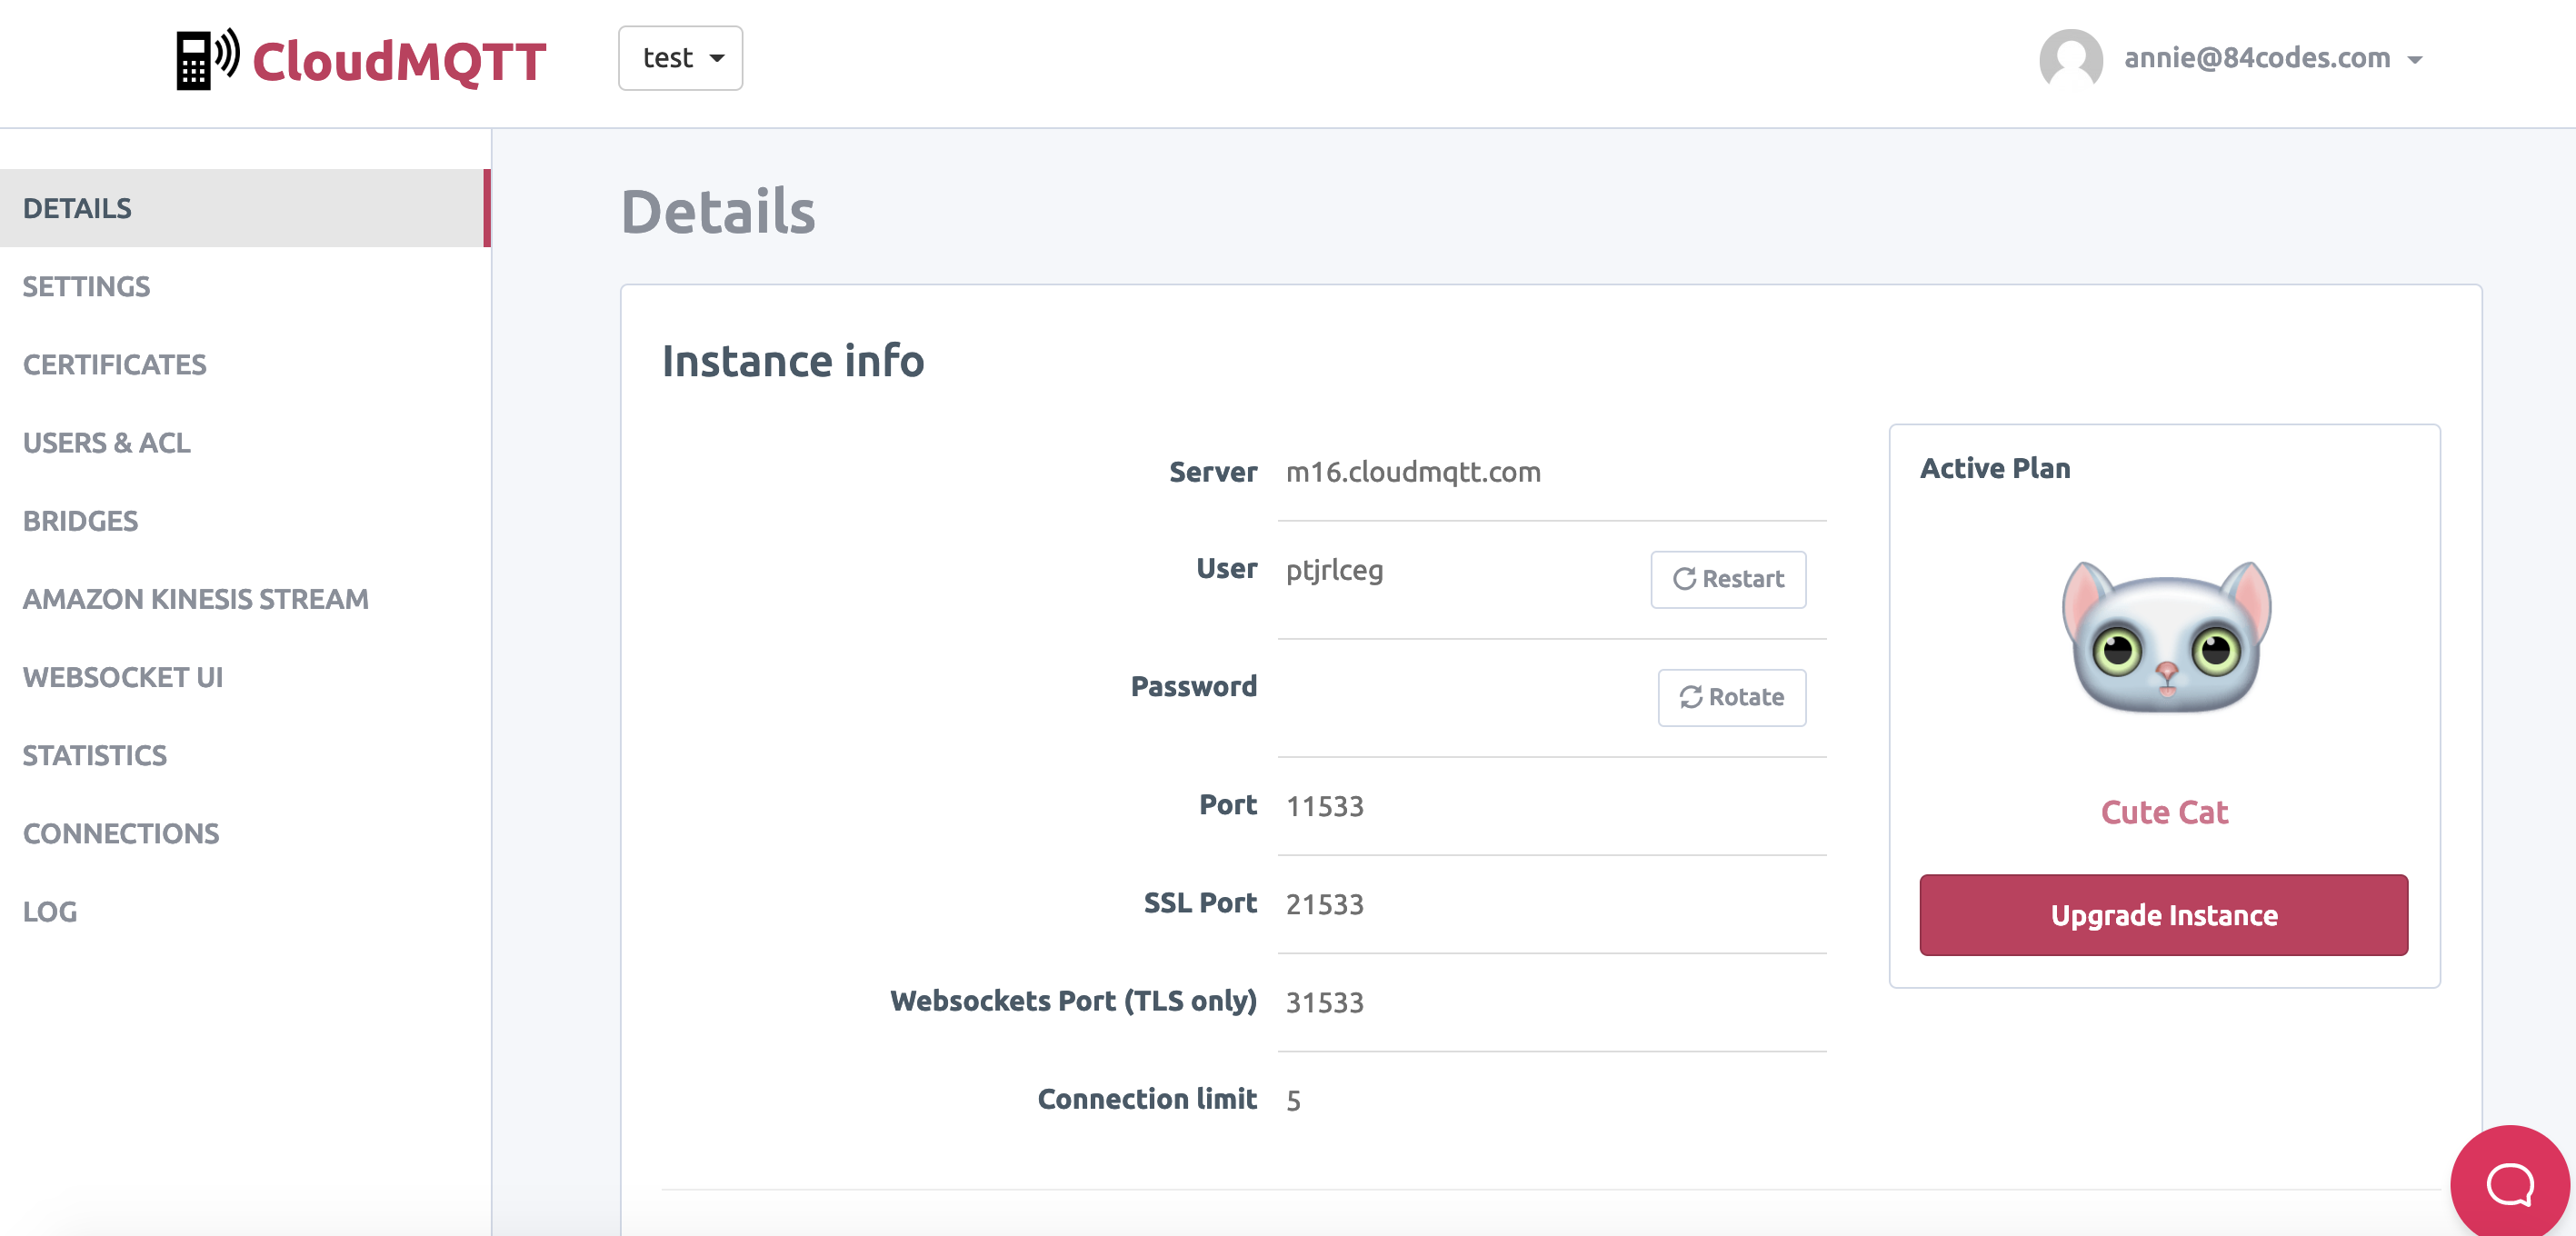
The instance is immediately provisioned after sign up and you can view the instance details, such as connection information, on the details page. You are sometimes forced to format a connection URL while connecting via client libraries, it should look like mqtt://user:password@server:port .
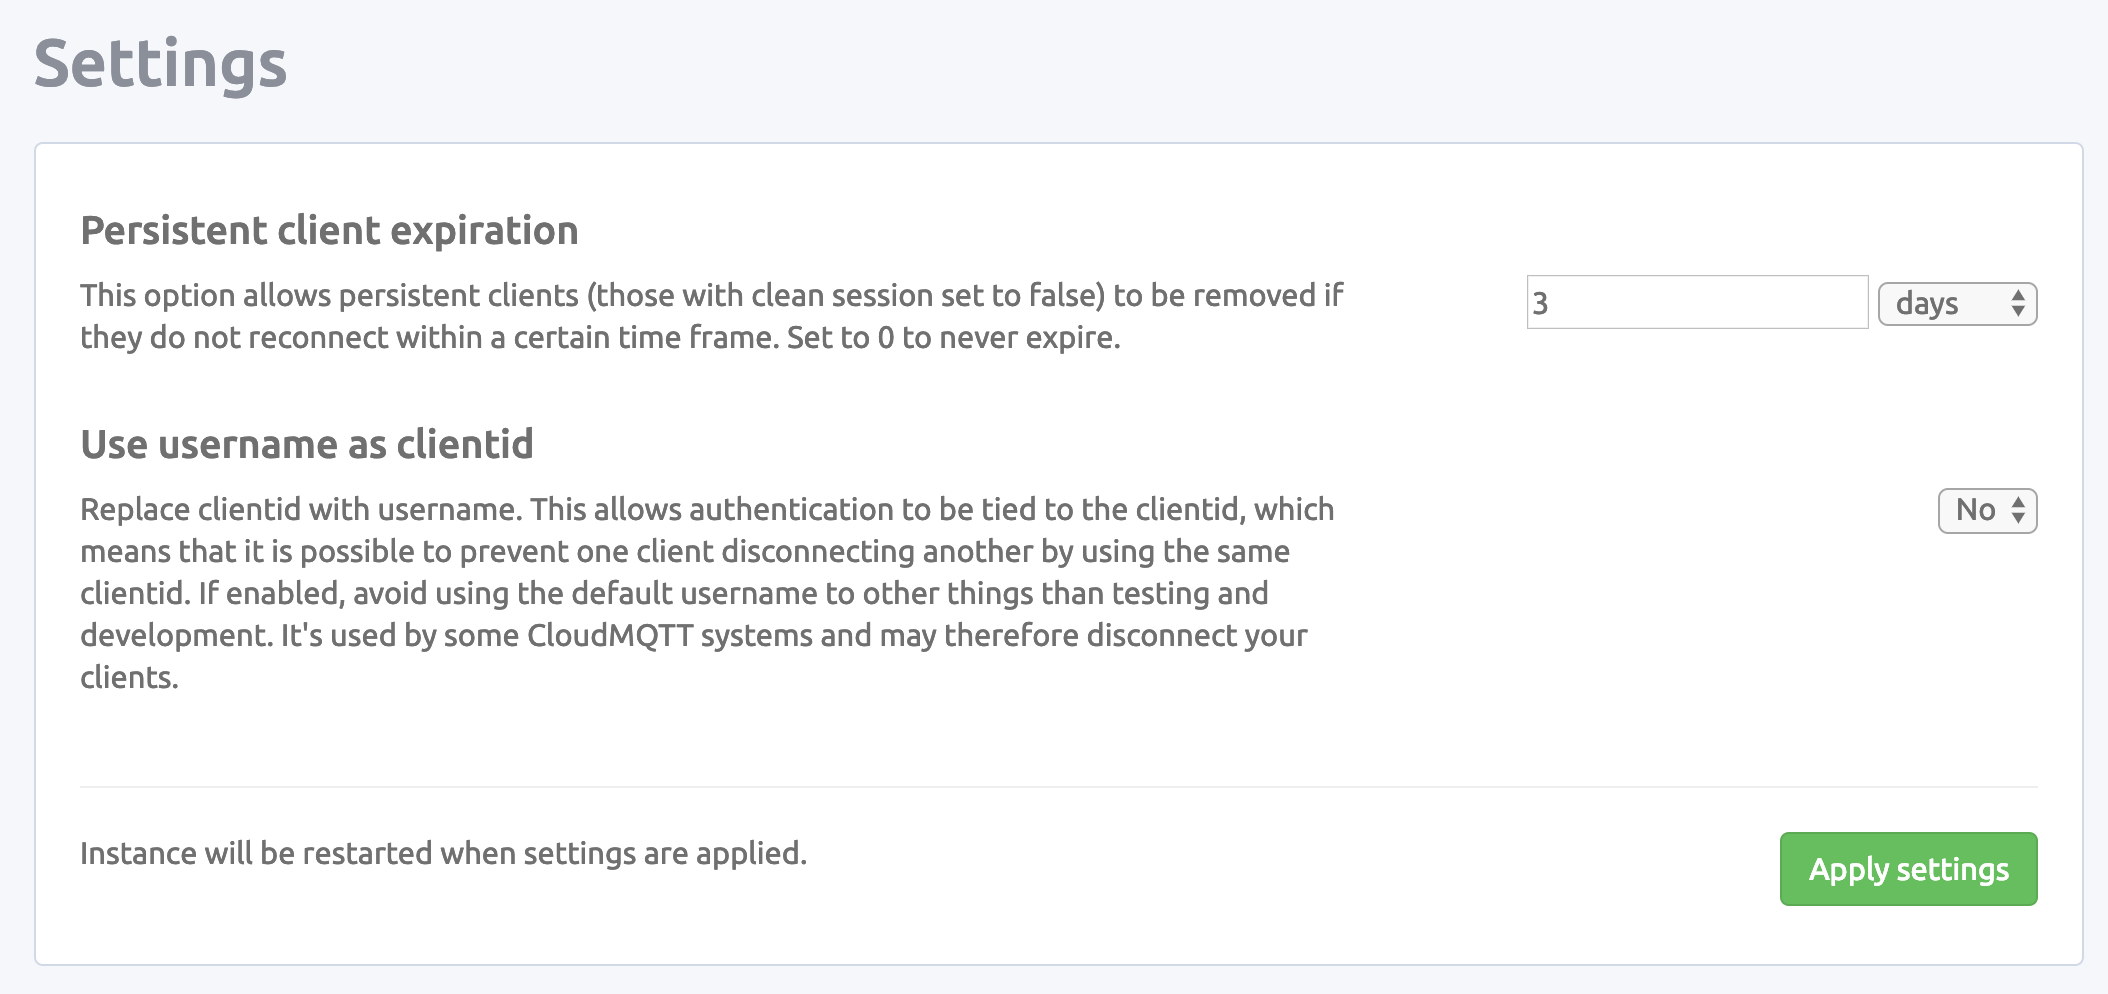
Settings
You can configure Persistent client expiration and Use username as client in settings.
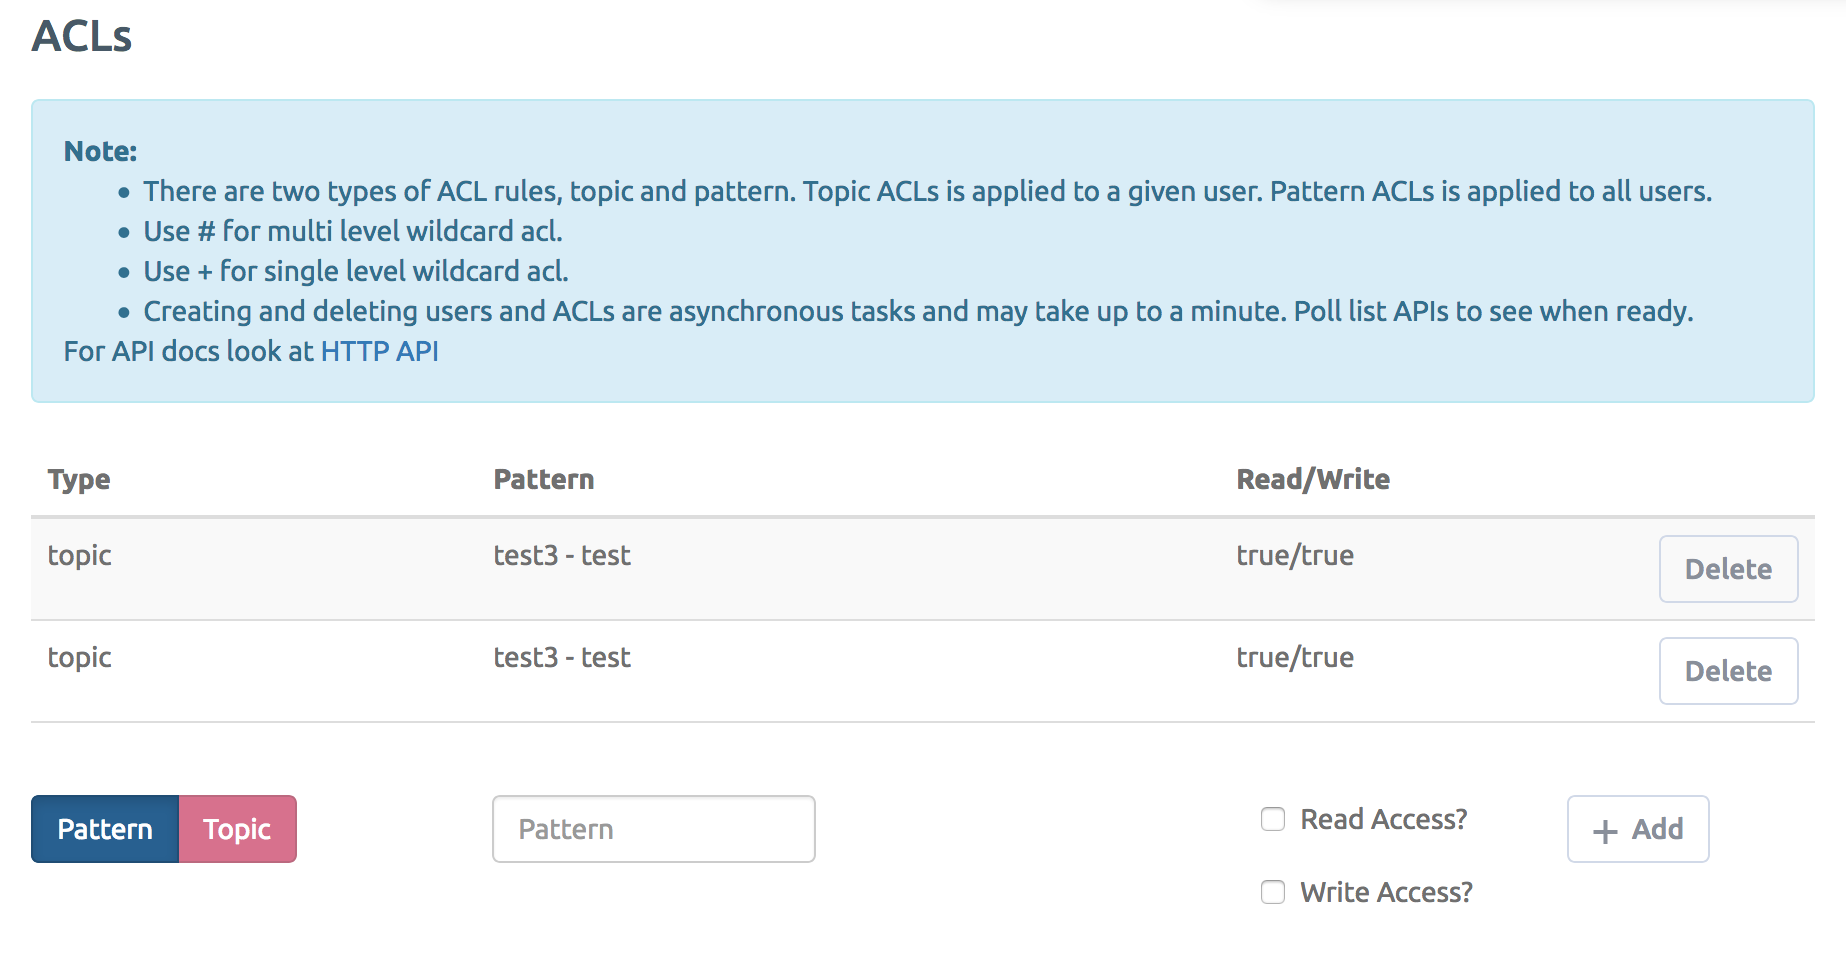
Users and ACL
You can manage user access and ACL rules to your hosted MQTT instance through our HTTP API. Read more about ACL rules here.
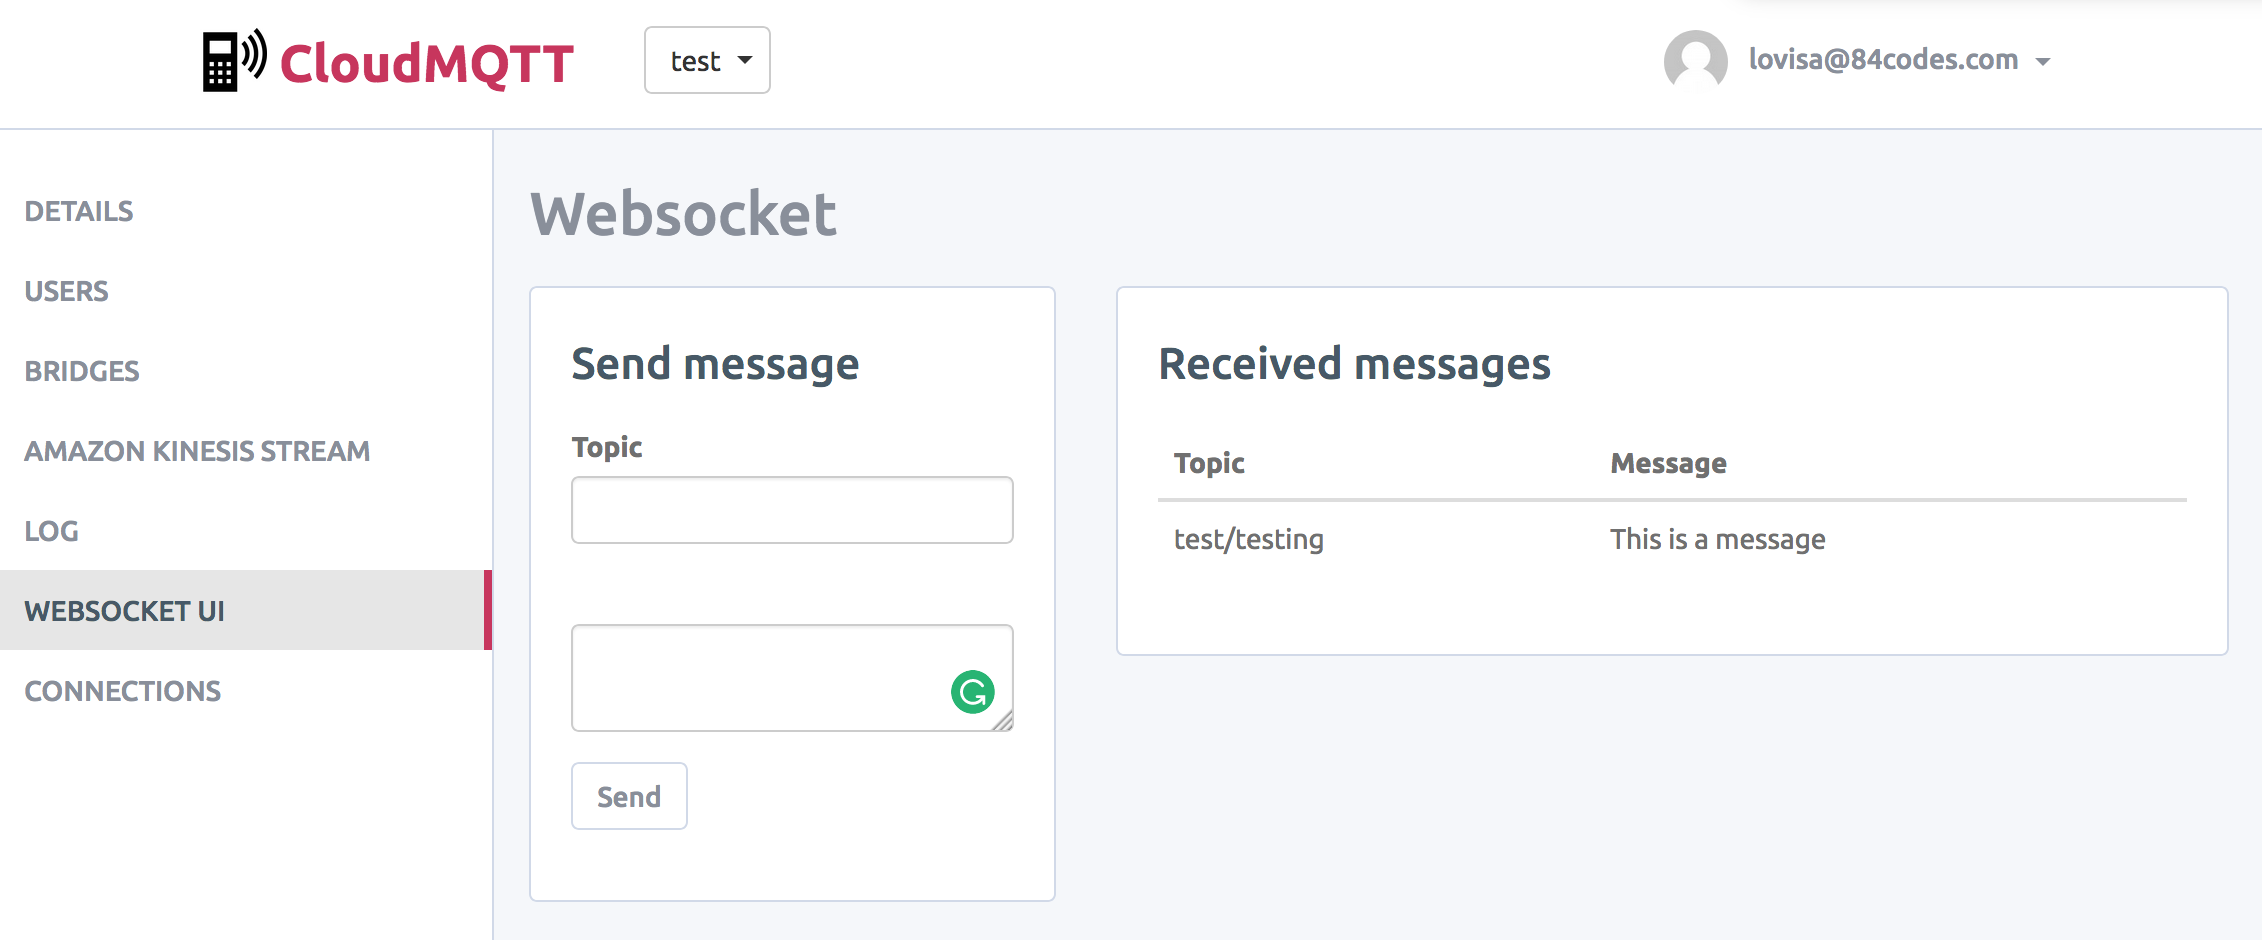
WebSocket UI
The WebSocket UI is a live view of data that has been sent to a topic. You can also publish a message from the WebSocket UI to a specific topic.
Statistics
Statistics is used to check runtime metrics.

Connections
Connections will list all active connections to your instance.

Log
The Log tab shows your server log in real-time and can help you to troubleshoot any issues.

When you have signed up is it time to Get started with CloudMQTT with any of these guides: