
WEB Configure Mode.
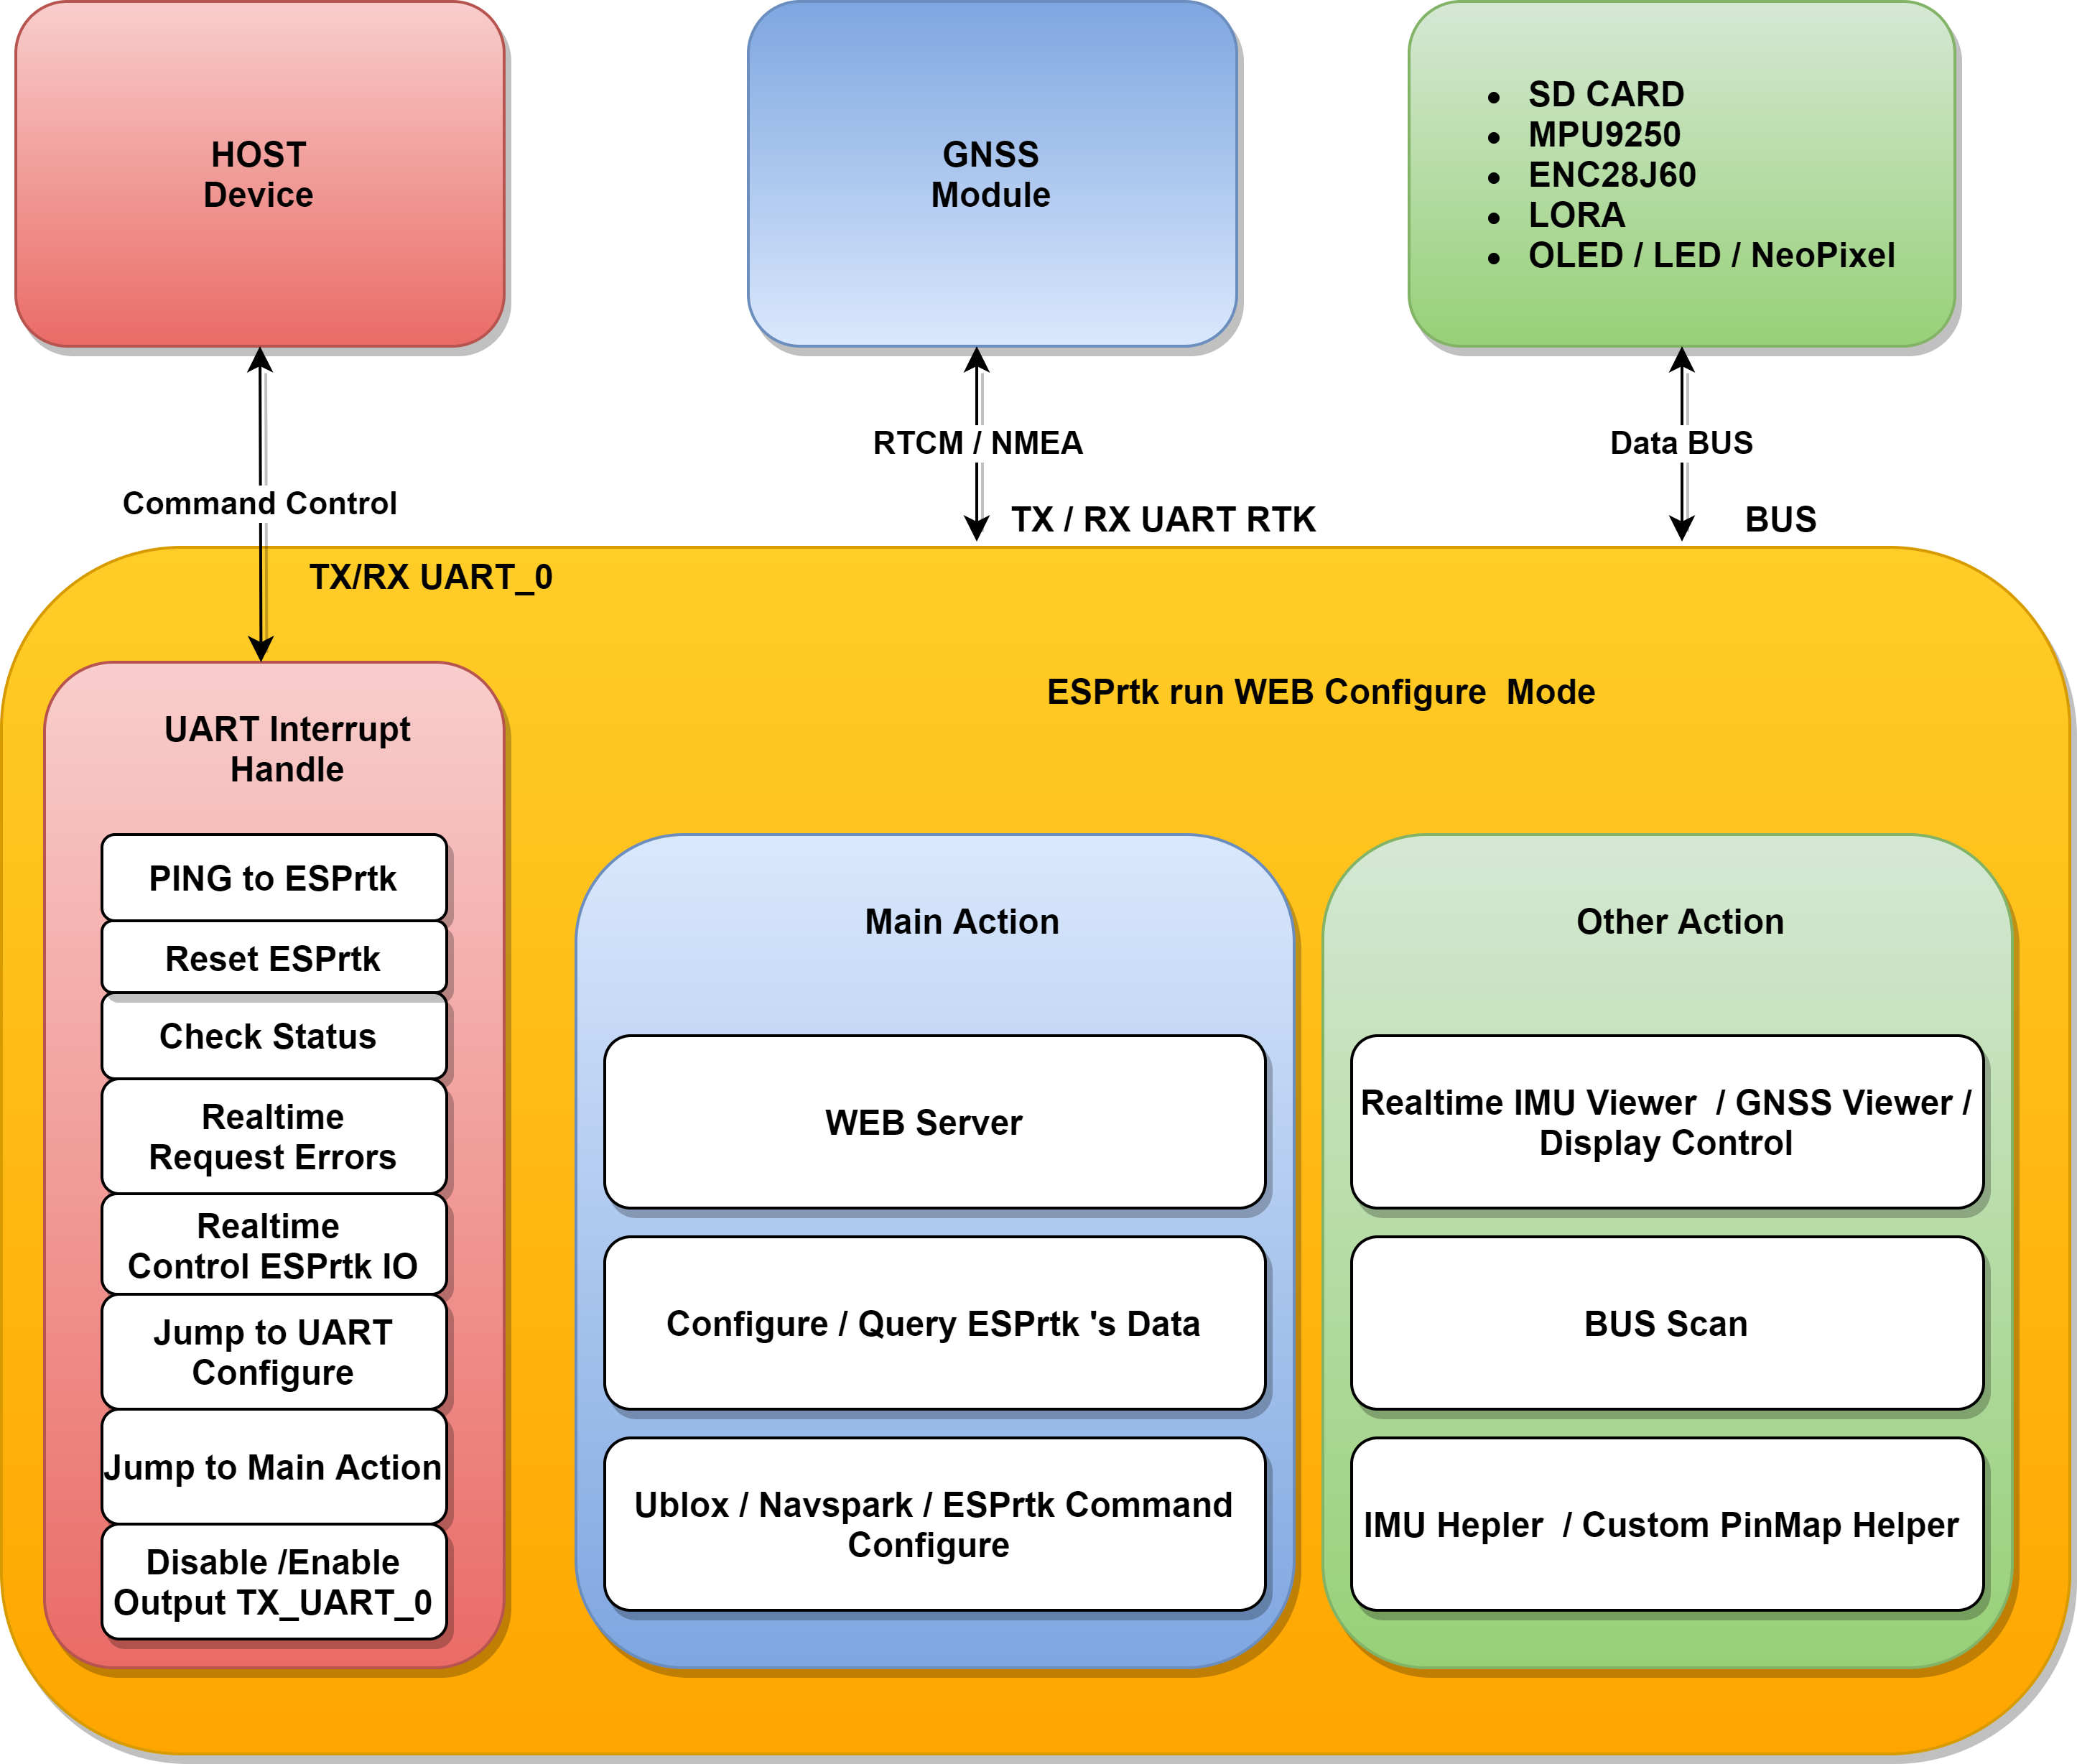
In addition to configuring ESPrtk via UART, users can perform ESPrtk configuration via an intuitive WEB UI interface using any WEB browser with a web server run by ESPrtk over a WIFI connection.
Along with that are tools that help users connect to peripherals such as GNSS Reveiver, IMU, SD, Display ..
Besides using UART_Configure to configure ESPrtk.
Users can perform ESPrtk configuration through a WEB interface (UI) with a web browser running on a computer or mobile device.
Start WEB Configure mode.
There are two ways to start WEB Configure mode on ESPrtk.
Use ESPrtk command to start WEB configure
Step 0 | |
Step 2 | HOST send command : $ESP_OK|5|N|_||*451F |
Done | |
Success | |
Use the CWB button to start WEB configure
After ESPrtk enters WEB Configure mode successfully, pressing the CWB button will not work in this mode.
When using the CWB button to launch WEB Configure, both ways you need to hold it down, so if pressing and holding the button makes it difficult for you, you may need to use a switch (parallel connection with the CWB button).
Access WEB UI and use
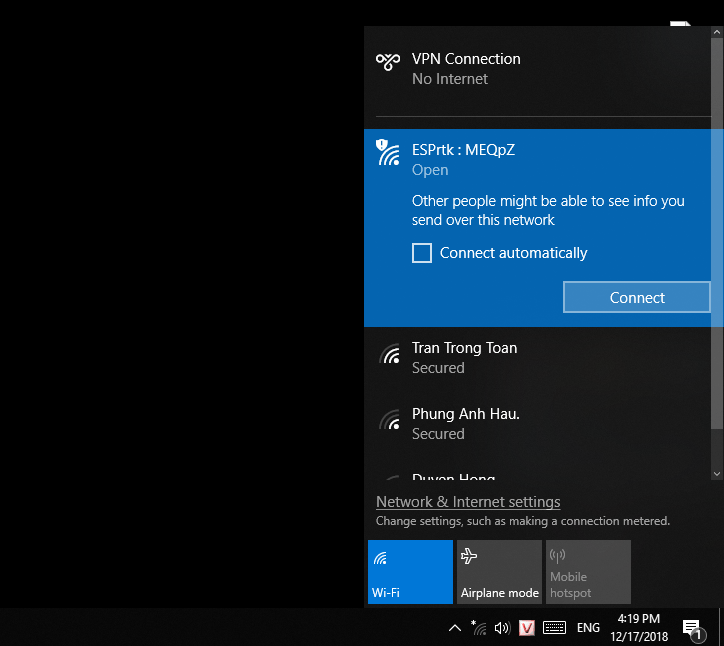
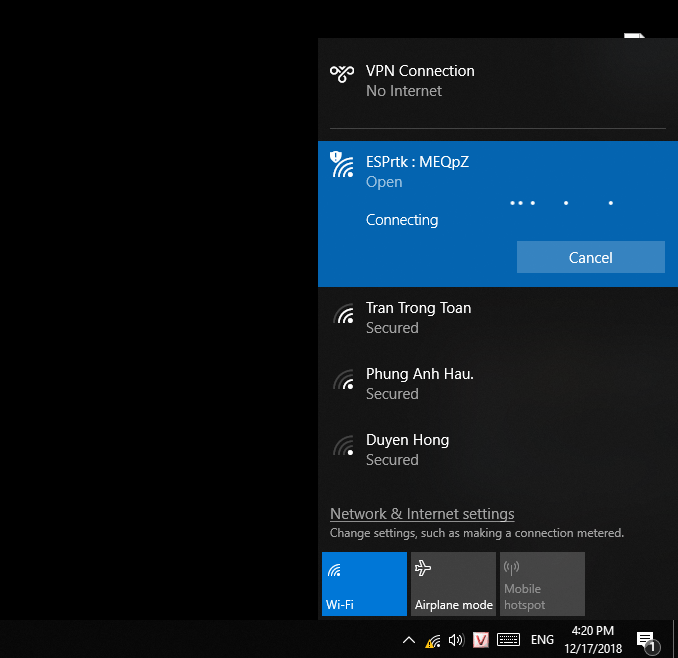
Now ESPrtk will start the WiFi hotspot (AccessPoint) named: ESPrtk : xxxxx. With xxxxx is the ID of ESPrtk device. (ESPrtk_ID).
When the boot process is complete, the connected CONNECT_LED will light continuously.
You can now connect to the WiFi hotspot , because the station is public (open) so you can connect without a password.
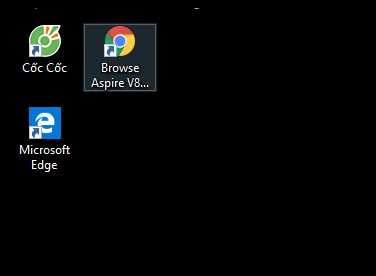
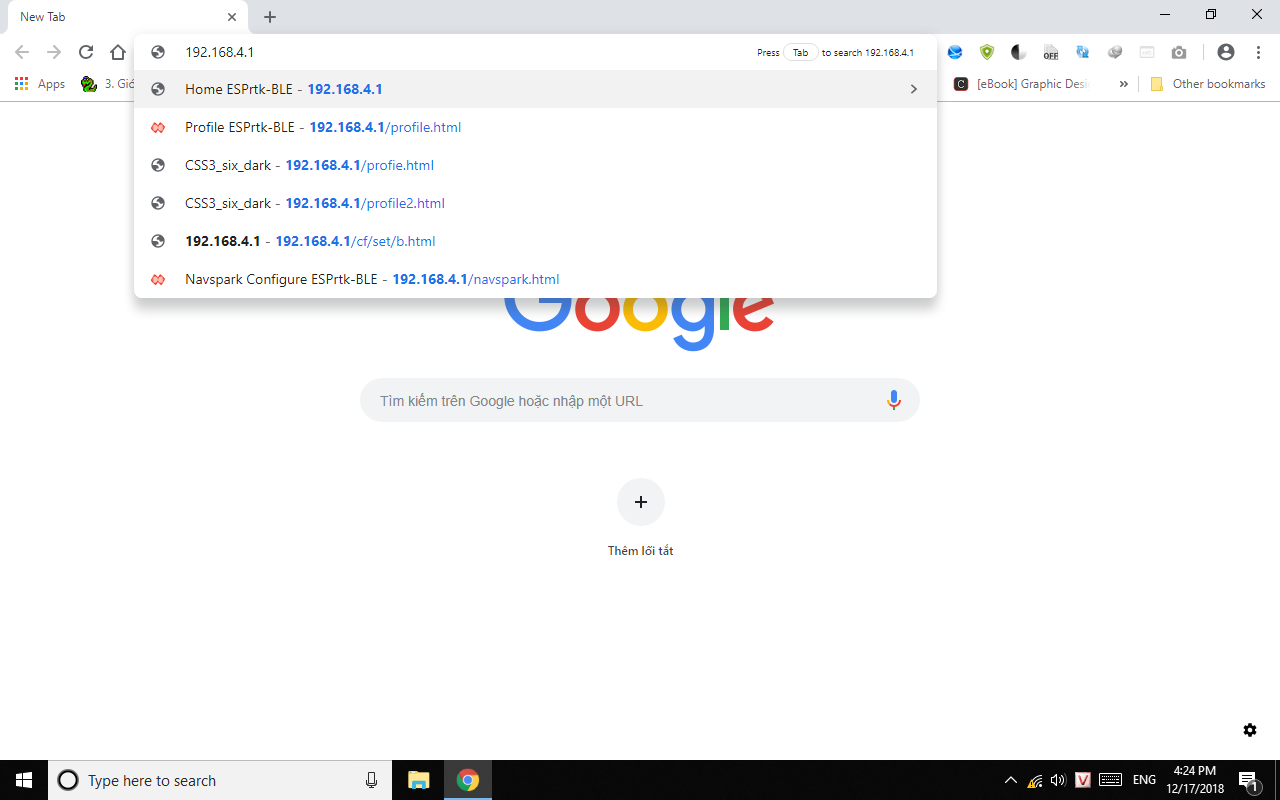
After connecting, open any browser on your device, and access http://192.168.4.1/profile to enter Profile page.
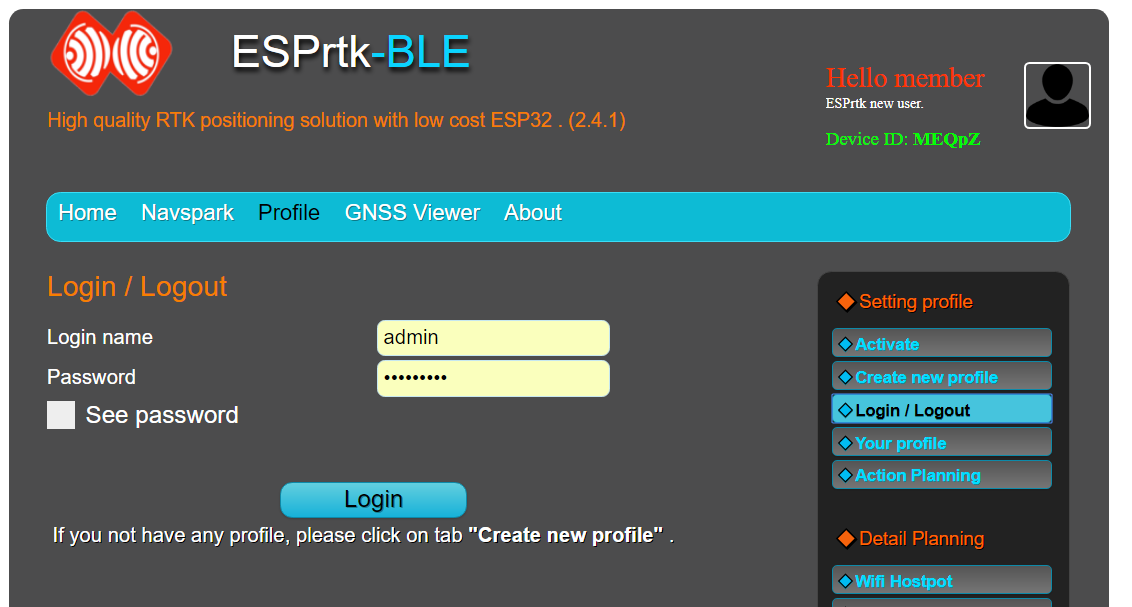
At the profile page, click on the “Login/Logout” tab, enter your username and password and then click “Login”.
On ESPrtk 3.0.0 , the default username/password is admin and abc123ABC
If ESPrtk does not have an account yet, click on “Create new profile” with your username/password chosen by user.
| Tab | Access address |
1 | http://192.168.4.1 | |
2 | http://192.168.4.1/ublox | |
3 | http://192.168.4.1/navspark | |
4 | http://192.168.4.1/gnssviewer | |
5 | http://192.168.4.1/profile | |
6 | http://192.168.4.1/about | |
7 | http://192.168.4.1/system |
Start up and access web configure.
(ESPrtk after being powered. )
Hold down the CWB button, then press the Reset button (then release), continue to hold down the CWB button until the blue status LED blinks, then release the CWB button.
Now ESPrtk will start the wifi station (AccessPoint) named: ESPrtk: xxxxx. With xxxxx is the ID of ESPrtk device. (ESPrtk_ID).
When the boot process is complete, the connected status LED will light continuously.
You can now connect to the station, because the station is public (open) so you can connect without a password.
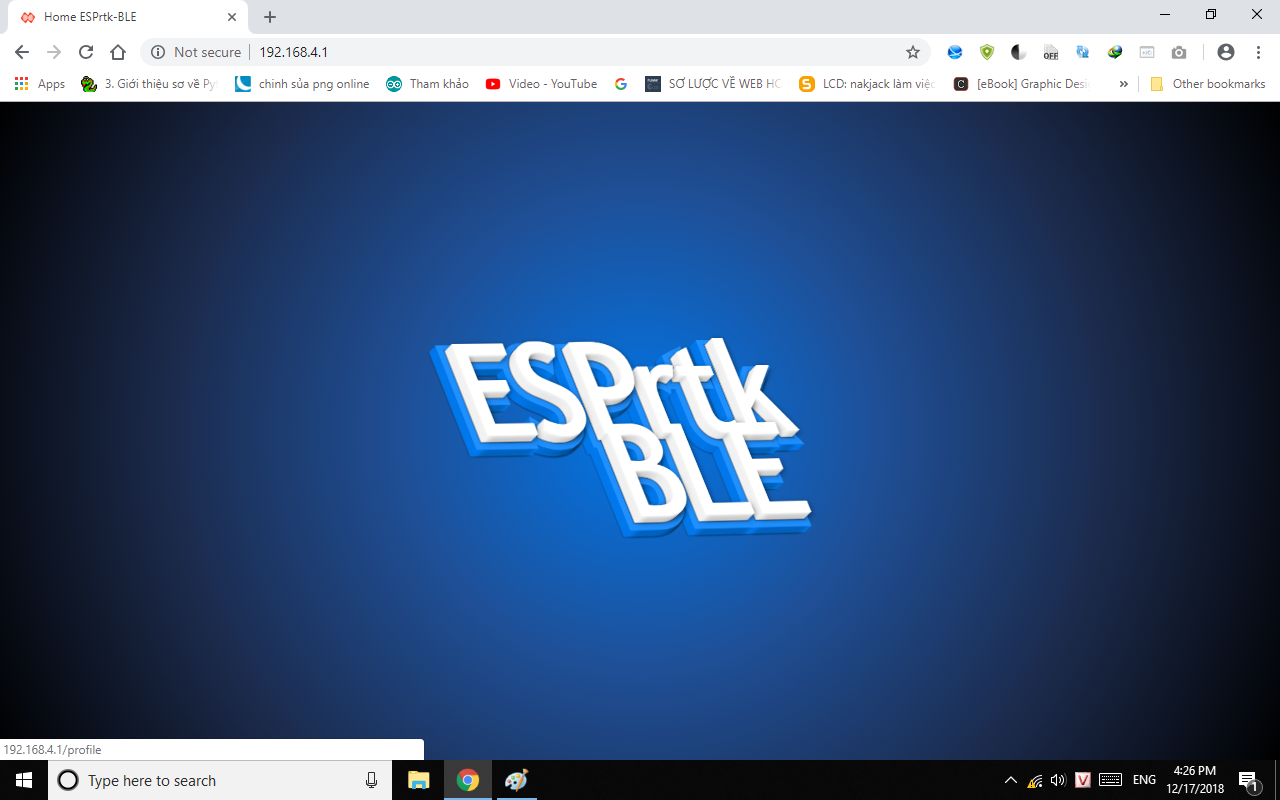
After connecting, open any browser on your device, and access 192.168.4.1 to enter ESPrtk homepage.
A background page with the ESPrtk logo will appear, click on the center of the screen to enter the configuration page.
(Or you can access it directly at 192.168.4.1/profile)
At the profile page, click on the “Login/Logout” tab, enter your username and password (the default username/password is admin and abc123ABC ) and then click “Login”.
If ESPrtk does not have an account yet, click on “Create new profile”
You can watch the video below :
The note.
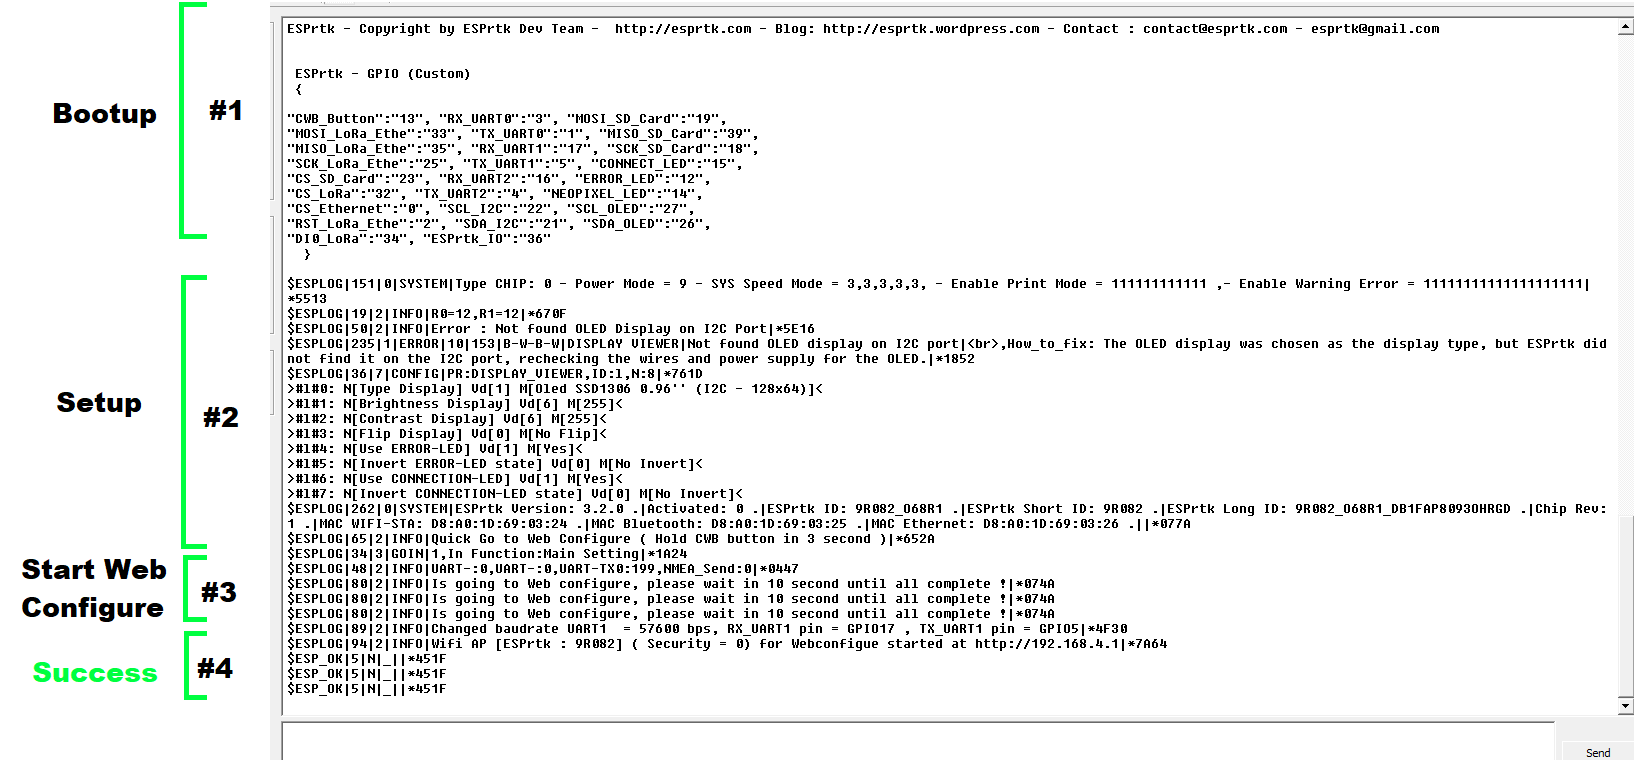
Confirm into Web Configure mode - Success with message :
$ESPLOG|80|2|INFO|Is going to Web configure, please wait in 10 second until all complete !|*074A
$ESPLOG|94|2|INFO|Wifi AP [ESPrtk : 9R082] ( Security = 0) for Webconfigue started at http://192.168.4.1|*7A64
$ESP_OK|5|N|_||*451F
$ESP_OK|5|N|_||*451F
$ESP_OK|5|N|_||*451F
Confirm into Web Configure mode - Fail (Error) with message :
$ESPLOG|80|2|INFO|Is going to Web configure, please wait in 10 second until all complete !|*074A
Error: Bad Power / ESPrtk Timeout / ESPrtk ... -> Restart Now !
Error: Bad Power / ESPrtk Timeout / ESPrtk ... -> Restart Now !
Error: Bad Power / ESPrtk Timeout / ESPrtk ... -> Restart Now !
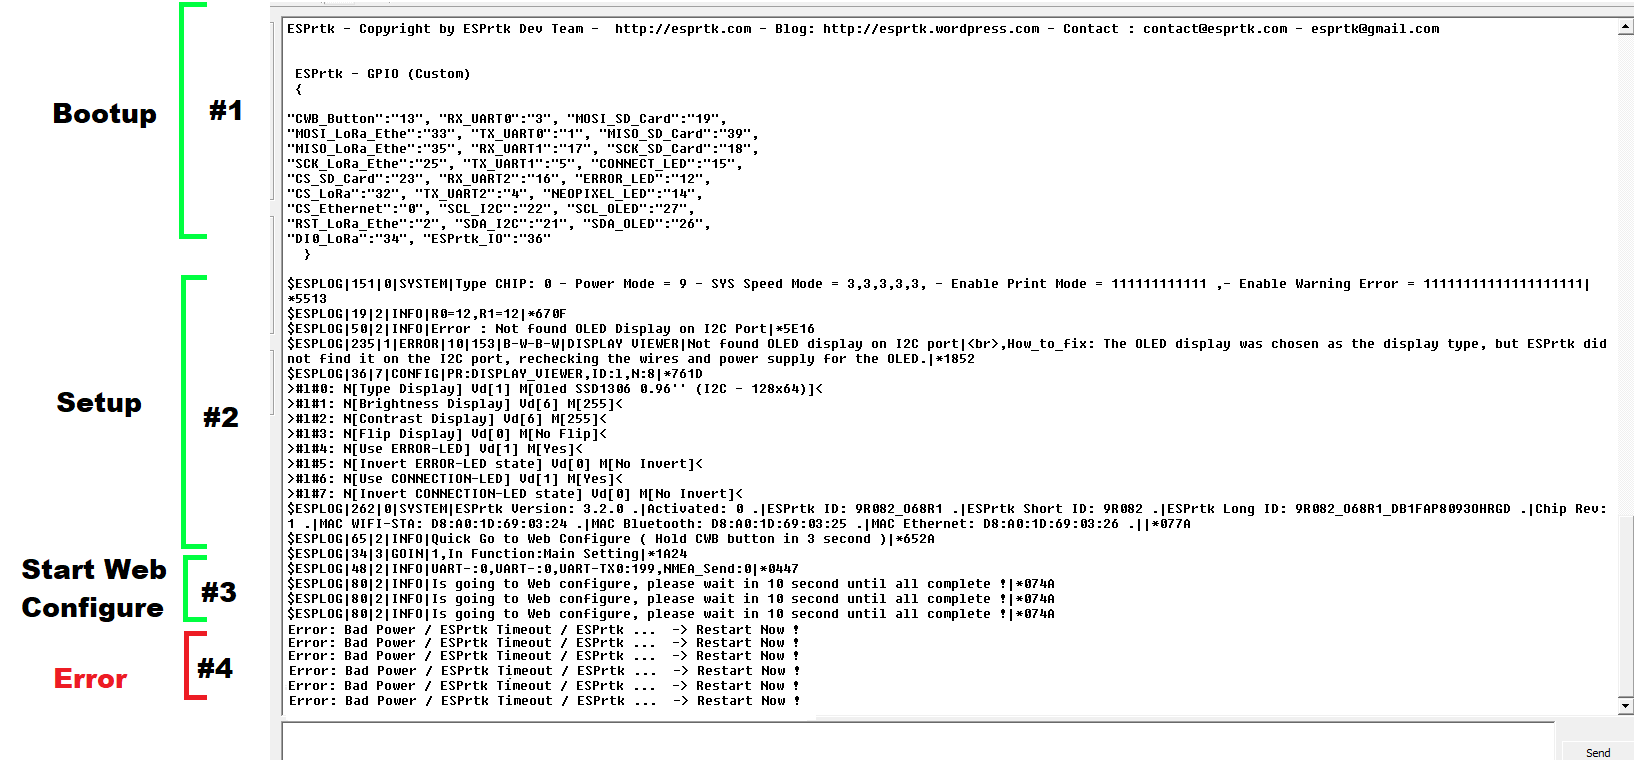
Start Web configure successfully when the blue status LED lights up continuously (no more blinking) , and ESPrtk export message on TX_UART0 ( -baudrate 230400) that started (like image above)
When ESPrtk starts wifi AP station, it will need a minimum 5v power supply of 500mA. Otherwise the boot will fail or loading page will miss packets.
All problems related to boot failure when using WIFI on ESPrtk are related to the (low) power supply. It is not the fault of the ESPrtk Firmware.
So the specific problem might be:
- Your battery is about to run out of power or is enough to make ESPrtk detect and restart.
- You use too many devices / modules / sensors / LED / Display ... on a single source bus.
- Jumper / Header / Switches have poor contact or rust, oxidation, etc.
- 5V-> 3.3V converter IC (ASM1117 3.3, ..) has been broken.
When access to web page and ESPrtk not respond, you can Disconnect to WiFi AP then Reconnect to it, every thing will work as well.
Accessing the configuration page only allows execution on one device, for use on another device, users need to log out on the previous device.
Most browsers like Opera, Chrome, Internet Explorer, etc. can be used. They should be updated to the latest version and need to allow Javascript.
If you use a browser to access multiple webconfigure sites at the same time, open pages in separate tabs to avoid confusion, and always pay attention to the Device ID located in the top left corner of the web page.
ERROR when Loadpage.
Sometimes downloading a page will lose data and will display incorrectly or freeze.
To see if the page works properly, click the submit button (Save Configure / Login-Logout ..) and see the status of the response in the status box. If the status box does not display any content when clicking the submit button, this is a page loading error.
To fix errors:
Just reload the page, wait for the page to load content and images, then try again by clicking the submit button. Also check power supply to keep WiFi connection stable.